
Hugging Face and How To Use It

Running HuggingFace Models in Google Colab

What Is Hugging Face

Hugging Face's AI Agents Course

Running HuggingFace Models in Google Colab

What Is Hugging Face
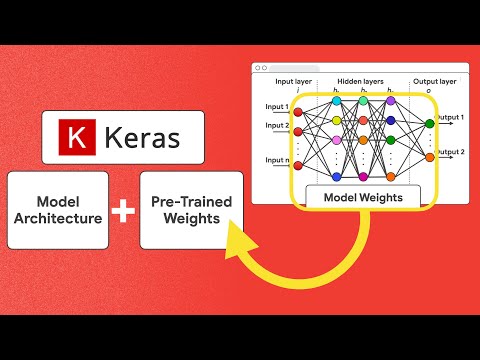
How to use KerasHub with Hugging Face

Hugging Face Bootcamp

HuggingCast v1
4. Try it: the first pipeline
This is the example most of the hands-on videos start with. It runs on CPU, downloads a small default model on first use, and caches it under ~/.cache/huggingface.
# pip install transformers torch
from transformers import pipeline

classifier = pipeline("sentiment-analysis",
                      model="distilbert/distilbert-base-uncased-finetuned-sst-2-english")
print(classifier(["I love how easy this is.", "The download took forever."]))
# [{'label': 'POSITIVE', 'score': ...}, {'label': 'NEGATIVE', 'score': ...}]
Naming the model explicitly, rather than relying on the pipeline's default, keeps results reproducible when library defaults change. In Colab, switch the runtime to a GPU and pass device=0 to the pipeline for larger models.
From pipeline to explicit model. Once the pipeline works, the next step the longer videos take is to load the tokenizer and model directly with AutoTokenizer.from_pretrained and AutoModelForSequenceClassification.from_pretrained, tokenize a batch, run a forward pass, and apply softmax to the logits. Doing it by hand shows what the pipeline hides: padding and truncation, the maximum sequence length, label mappings in the model configuration, and where tensors live (CPU or GPU). That understanding is what you need before fine-tuning with the Trainer API or exporting a model for production serving.
5. Pitfalls when moving beyond the demos
- Memory. A model's parameter count times bytes per parameter (2 for fp16, about 0.5 for 4-bit) is a lower bound on memory; demos in Colab often use small models for this reason.
- Gated models. Llama and some image models require accepting a license and logging in with a token before download.
- Licenses. Check the model card's license before commercial use; "open weights" does not always mean unrestricted.
- Unpinned revisions. Repositories can be updated; pin a commit for anything you deploy.
- Untrusted code.
trust_remote_code=Trueruns Python from the repository; only enable it for sources you trust.
6. Related topics
- Hugging Face control center
- Hugging Face Hub and Datasets
- Transformers
- NVIDIA + CUDA setup for local GPU inference